Key Takeaways
Few experiences match capturing sunset yacht photography in Newport Beach our yacht fleet. The coastline faces due west, the harbor waters run calm, and the light shifts through gold, amber, and violet in under an hour. Whether you shoot with a mirrorless camera or a smartphone, the conditions here reward preparation. This guide covers timing, technique, gear, and editing — everything you need to walk off the boat with images worth printing. These photography tips for sailing Newport apply to beginners and experienced shooters alike.
Newport Beach checks every box for golden hour boat shots: a west-facing harbor, landmark-rich coastline, predictable weather, and calm protected waters. The combination creates reliable conditions that most coastal locations simply cannot match.
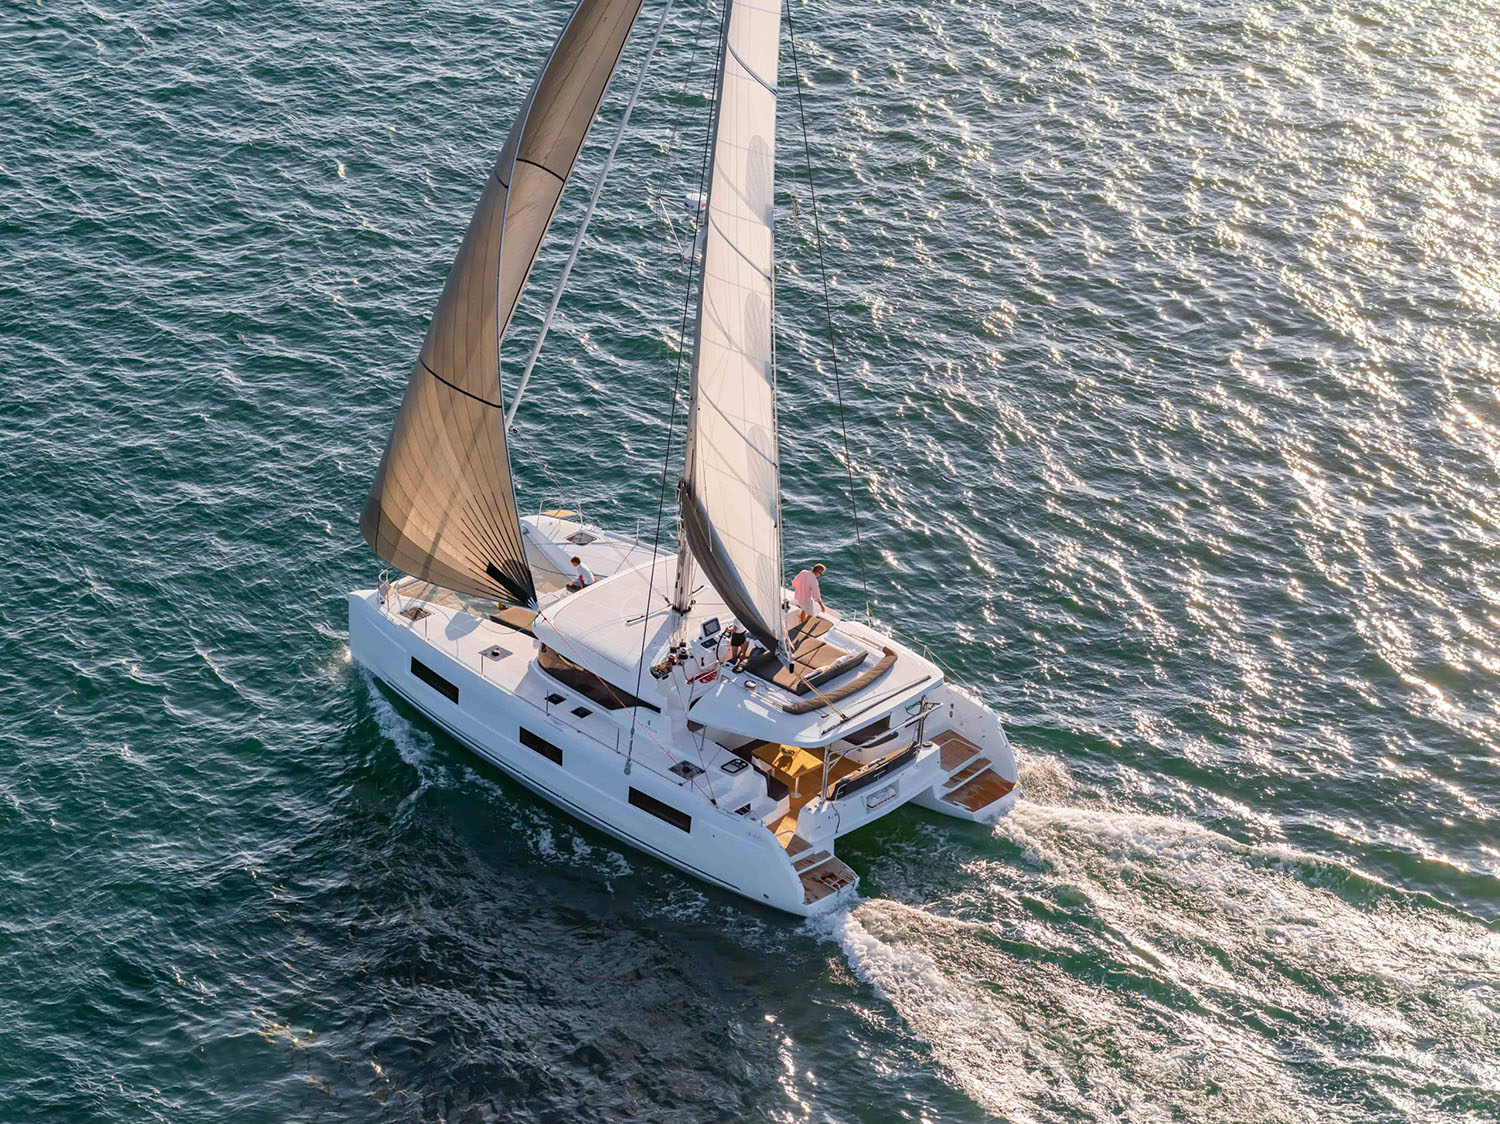
The coastline faces directly west, which puts the setting sun square in your frame from nearly every position on the water. Inside Newport Harbor, areas around Balboa Island and Lido Isle provide calm, glassy surfaces that produce mirror-like reflections — ideal for capturing sunset on a charter without fighting choppy seas. Move outside the harbor entrance, and you get an unobstructed Pacific horizon with Catalina Island silhouetted in the distance.
The Corona del Mar coastline alone offers six distinct landmark subjects visible from the water: Corona del Mar State Beach, Little Corona Beach, Inspiration Point cliffs, China Cove, Pirates Cove, and Arch Rock. Optimal shooting distances range from 50–100 meters for State Beach to 100–200 meters for the Inspiration Point cliffs. The Newport Harbor Jetty adds another strong foreground element for layered compositions.
Weather is one of the biggest variables in the best lighting for sea photos, and Newport Beach delivers remarkably consistent conditions. October earns the highest weather quality rating at 92 out of 100, with 255 monthly sunshine hours, average temperatures around 70°F, and visibility reaching 10 nautical miles. Rainfall that month totals just 0.4–0.6 inches across one to two days — a 3–7% chance of rain on any given evening.
The marine layer, Southern California's most common disruption, typically forms after 11 PM and burns off by 11 AM. It rarely interferes with sunset shoots. Partial cloud coverage between 30% and 50% actually improves results by scattering light and adding dramatic texture across the sky. Clear, low-humidity evenings produce the most vibrant orange and red tones, but even overcast days deliver workable soft light.
June and July are the peak months. Sunset occurs between 7:57 PM and 8:05 PM, day lengths exceed 14 hours (peaking at 14 hours and 18 minutes at the summer solstice), and golden hour stretches to 65 minutes — compared to just 48 minutes in December. That extra time matters. It gives you room to adjust settings, reposition the yacht, and experiment with compositions without rushing.
The broader May-through-October window provides the most favorable overall conditions, with composite photography ratings between 85 and 95 out of 100. Winter months are not without merit: sunsets as early as 4:43 PM produce steeper sun angles that create more intense, dramatic color saturation. The tradeoff is a shorter golden hour of 48–52 minutes. Choose June or July if you want the longest shooting window. Choose October when atmospheric clarity and weather consistency matter more than golden hour duration. Regardless of season, the blue hour extends 25–27 minutes after sunset at a color temperature of 8,000–12,000K — a window worth staying on deck for.
The right technique turns good light into a great image. Sunset yacht photography in Newport Beach demands quick adjustments — light changes fast, the boat is moving, and conditions shift every few minutes. These photography tips for sailing Newport cover settings, exposure control, composition, and how to use the yacht itself as a creative tool.
Settings change as the light drops, so think in phases. During early golden hour (60–30 minutes before sunset), start at ISO 200–400, f/8–f/11, and 1/500–1/250 sec with white balance at Daylight or 5500K. As you enter late golden hour (15–5 minutes before sunset), shift to ISO 800–1,600, f/4–f/5.6, and 1/125–1/60 sec. Push white balance to Cloudy or 6500K to lean into the warm tones.
At the sunset moment (5 minutes before to 5 after), expect ISO 1,600–3,200, f/2.8–f/4, and 1/60–1/30 sec. During blue hour (25–45 minutes after sunset), maintain those ISO and aperture ranges but slow the shutter to 1/30–1/15 sec and switch white balance to Tungsten or 3200K for cool twilight tones. Shoot in RAW + JPEG with Adobe RGB color space throughout for maximum editing flexibility.
Dial in exposure compensation and let the camera do the heavy lifting. Start at −0.3 EV during early golden hour and work down to −1.5 EV at the sunset moment. This protects the bright sky, the most common place to lose detail. The dynamic range between a blazing horizon and dark water is extreme, so bracket your exposures at ±1–2 EV during peak sunset for HDR merging opportunities.
Switch metering modes based on intent. Spot meter on the bright sky when you want intentional silhouettes. Use evaluative or matrix metering for balanced exposures across the full scene. Turn on your histogram display and highlight warning (the "blinkies") — do not trust the LCD screen in bright outdoor conditions. One rule simplifies every decision: it is far easier to recover shadow detail in post-processing than to fix blown-out highlights.
Strong composition separates snapshots from portfolio images. The best lighting for sea photos means nothing if the frame is poorly organized. Start with the rule of thirds: place the horizon along the upper or lower third line, and position the sun at an intersection point. Use leading lines — the yacht wake, the coastline, or the Newport Harbor Jetty — to pull the viewer's eye into the scene.
Framing adds structure. Sails, rigging, and yacht windows create natural borders around the sunset that give images depth. For drama, expose for the bright sky to turn passengers, rigging, or coastal landmarks like Arch Rock into bold silhouettes. Timing matters as much as framing: the optimal sweet spot for sunset color is a narrow 5-minute window roughly 15–20 minutes after the sun dips below the horizon.
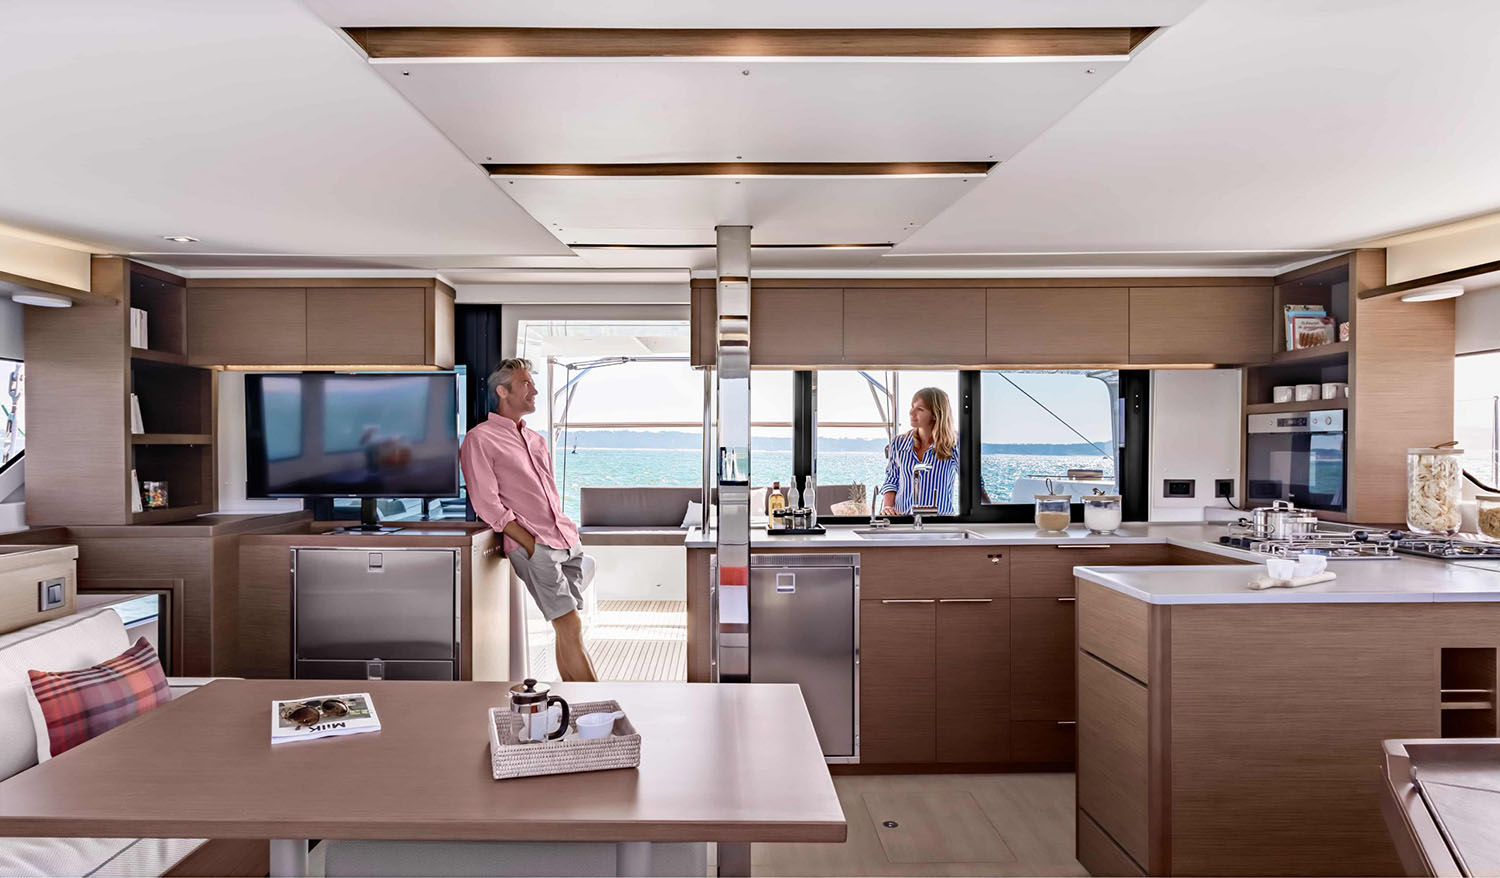
The yacht is not just your platform — it is part of the shot. Include the helm, bow rails, ropes, or a glass of wine as foreground interest to add depth and tell a story. These details anchor the image and communicate the experience of capturing sunset on a charter in a way a bare horizon cannot.
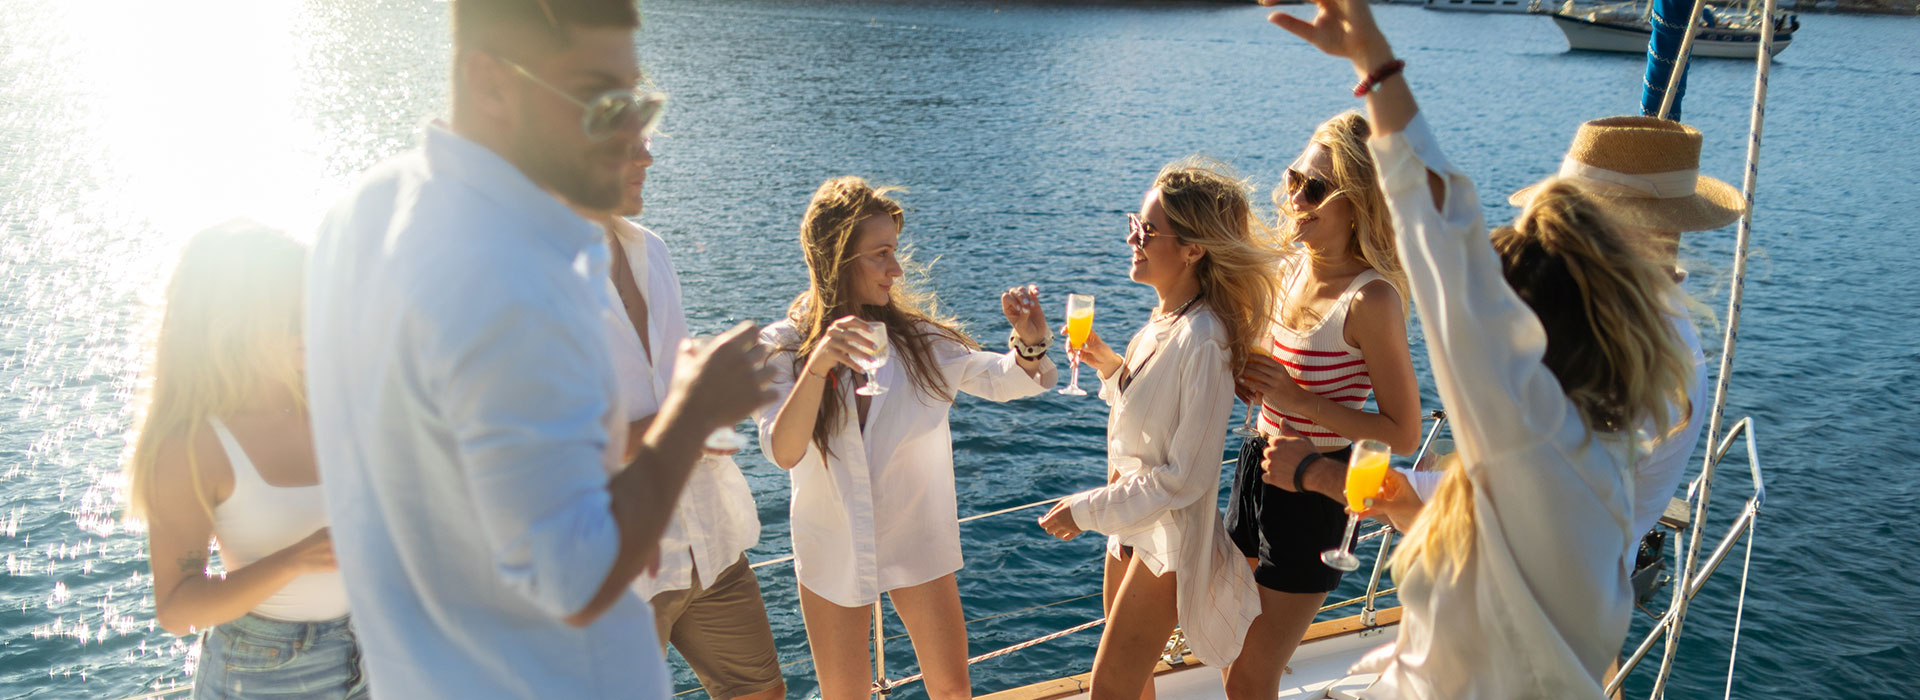
Drop to a low angle from the deck to pull water reflections into the frame as a dominant element. Candid moments of passengers silhouetted against the golden sky make strong lifestyle-style compositions. Use the yacht's wake or spreading ripples as leading lines that draw the eye straight to the horizon. If possible, coordinate the route to pass Corona del Mar landmarks — State Beach, Little Corona, Inspiration Point, China Cove, and Arch Rock — during peak golden hour so the coastline becomes both backdrop and subject.
Gear matters less than timing and technique, but the right equipment removes obstacles. The marine environment adds salt spray, constant motion, and rapidly fading light — all of which demand specific tools. This section covers camera bodies, lenses, filters, and stabilization for golden hour boat shots in Newport Beach.
A DSLR or mirrorless camera with strong low-light performance and weather sealing is the ideal choice. Bring at least two spare batteries and a minimum of 64 GB in memory cards with backups. Sunset shoots burn through both faster than you expect, especially when shooting in burst mode and RAW format.
For lenses, a standard zoom (24–70mm) is the most versatile all-around option and handles the majority of compositions. A wide-angle lens (16–35mm) captures expansive coastal panoramas and dramatic sky-to-water frames. A telephoto (70–200mm) compresses scenes, isolates distant details like Catalina Island silhouettes, and lets you photograph dolphins, seals, or pelicans without crowding them. Choose a standard zoom if you are bringing one lens. Choose a telephoto when wildlife or distant landmarks are the priority. If you are shooting casually with a smartphone, pair it with a waterproof case and a portable gimbal stabilizer — the combination closes much of the gap with dedicated cameras.
Filters make a measurable difference for sunset yacht photography in Newport Beach. A polarizing filter is the single most impactful accessory for maritime shooting. It cuts glare off the water surface, deepens sky blues, and saturates colors across the frame. A graduated neutral density (GND) filter balances the bright sky against darker water, preserving detail top to bottom without bracketing. A UV filter adds a layer of protection for your front element against salt spray — it has no visible effect on image quality but can save a costly lens.
Keep lens hoods mounted throughout the shoot. They block both salt spray and unwanted lens flare, though creative flare can be used intentionally when the sun sits low on the horizon. Bring a lens cleaning kit with a microfiber cloth and an air blower. Salt air coats glass quickly, and a single smudge during peak golden hour costs you the best frames of the evening.
Motion is the biggest technical challenge when capturing a sunset on a charter. A monopod is more practical than a tripod on a rocking deck — it is compact, deploys fast, and absorbs vertical movement well. Keep your shutter speed at a minimum of 1/250 sec during golden hour to freeze the yacht's motion. Drop to 1/60 sec only when you have stabilization assistance working in your favor.
Enable image stabilization on your lens or body — IS, VR, or IBIS, depending on your system — and set it to Mode 1 or Active mode for the best results on a moving platform. Brace your body against the yacht's structure: railings, cabin walls, or any solid surface that absorbs sway. Time your shots between wave movements rather than fighting them. Shoot in continuous burst mode to increase the odds of landing a sharp frame. Finally, use back-button focus to separate focus from the shutter release — it gives you faster, more precise control when the deck shifts underfoot.
Water reflections double the impact of any sunset image. They extend color across the entire frame and add symmetry that pulls viewers in. Getting clean reflections from a yacht takes positioning, the right settings, and an understanding of what the water is doing beneath you. These are the best lighting techniques for sea photos techniques focused specifically on reflections.
Get low. The closer your camera sits to the water surface, the larger and more vivid the reflection appears in the frame. Crouch on the deck or shoot through lower rail openings to drop your perspective. Focus approximately one-third into the scene — not on the horizon and not on the water directly below — to maximize depth of field and keep both the sky and reflection sharp.
Position the yacht in calm water areas inside Newport Harbor, particularly near Balboa Island or Lido Isle, where protected waters produce the most mirror-like surfaces. If conditions are choppy, avoid shooting directly into disturbed water. Wait for a calmer moment between wave sets or move tothe yacht's lee side, which acts as a natural windbreak and settles the surface nearest the hull.
Set aperture to f/8–f/11. This range holds sharpness across both the sky and the reflected water below, which sit at very different focal distances. A polarizing filter gives you precise control over reflection intensity — rotate it fully to remove polarization, and the water becomes a near-perfect mirror. Rotate it partially, and you begin to reveal underwater detail like sand, rocks, or kelp.
Slow the shutter speed to 1/30–1/60 sec to smooth out minor surface ripples and produce a more glass-like effect. This range works well with stabilization engaged, but still freezes the broader scene. Set white balance to Cloudy (6000–6500K) to warm both the direct sunset tones and their reflected counterparts equally. The result is a cohesive color palette from top to bottom of the frame.
Wind speed matters most. Calm or near-calm conditions under 5 knots yield the clearest, most defined reflections. Even moderate wind breaks the surface into fragments that scatter light rather than mirror it. Protected harbor waters consistently outperform open ocean for reflection quality, which is why shooting inside Newport Harbor during the golden hour boat shots produces reliably strong results.
Timing plays a role, too. The 25–27-minute civil twilight window after sunset produces high-contrast reflections with vivid color gradients — often richer than the sunset moment itself. Watch for kelp beds and floating debris, which break up reflection continuity; reposition the yacht to avoid them. Near shore, tide level changes the equation: low tide exposes wet sand that acts as a broad natural reflector, extending the color palette well beyond the waterline.
Good editing protects what the light gave you and fixes what the conditions took away. The goal is not to reinvent the image — it is to close the gap between what your eyes saw on deck and what the sensor recorded. These post-processing techniques apply whether you edit in Lightroom, Capture One, or a mobile app like Snapseed.
Start with white balance. Shifting the temperature slightly toward amber (5800–6500K) brings back the warmth your eyes remember from golden hour, but the camera often undersells. This single adjustment reshapes the entire mood of sunset yacht photography in Newport Beach images before you touch anything else.
Use local adjustment brushes or radial filters to selectively brighten water reflections without blowing out the sky above. If you did not shoot with a physical graduated neutral density filter, apply one digitally — most editors offer a linear gradient tool that balances exposure between the bright upper frame and darker water below. For high-ISO shots taken during late golden hour and blue hour (ISO 1,600–3,200), luminance noise reduction is essential. Apply it sparingly. Too much smoothing kills texture in the water surface and clouds.
Use vibrance, not saturation. Vibrance boosts muted tones while leaving already-saturated oranges and reds alone, which prevents the sky from clipping into flat, detail-less color. For contrast, skip the global slider and work the tone curve instead — lift shadows slightly and pull highlights down for a film-like look that adds dimension without harshness.
Target individual color channels for precision. Boost orange luminance to make skies glow. Increase blue saturation for richer, deeper water tones. This channel-level control is what separates polished edits from heavy-handed ones. The simplest quality check: look at skin tones on any passengers in the frame. If they look sunburned or plastic, or if the water has gone neon, dial everything back until it feels real again.
Always start from RAW files. JPEGs bake in compression and camera-processed color that limit how far you can push exposure and tone adjustments. RAW gives you the full latitude the sensor captured, which matters most in high-contrast scenes like photography tips for sailing Newport sunsets, where sky and water sit at opposite ends of the dynamic range.
Recover highlight detail first, then open shadows. The balance between these two defines the mood of every sunset image — lean toward preserved highlights for drama, or lifted shadows for an airy, editorial feel. Apply lens corrections to fix distortion and vignetting, especially on wide-angle frames where barrel distortion bends the horizon. Sharpen selectively: apply more to landscape details, rocks, and architectural edges, and less to smooth water and sky gradients where sharpening creates unwanted noise. Export at full resolution for prints. For web and social sharing, 2048 pixels on the long edge strikes the right balance between quality and file size.
The light, the coastline, and the calm harbor waters do the heavy lifting — you just need to show up with charged batteries and a plan. Whether you are chasing golden hour reflections off Balboa Island or framing Arch Rock as a silhouette, Newport Beach delivers conditions that reward every skill level.
At Newport Beach Sailing, we put you in the right place at the right time. Our captains know these waters, the best routes for photography, and exactly when to position the yacht for peak light. Ready to see it for yourself? Contact us today to book your sunset cruise and bring home images worth framing.